My audio & video setup after 4 years of remote working
I’ve been working remotely for a while and during these years I kept improving my work setup. During the last year, I’ve also increased the overall video and audio quality and now I’m pretty confident I’ve ended up with something worth sharing.
A little note before moving on. Some gears I will share are cheap and others are expensive but I think that every product is one of the best that can be found in its price range. Because I think that for some stuff it is not worth spending too much to get the job done.
Desk
The core of this article is audio and video, but I want to spend just a few words also on peripherals.

Keyboard
It’s been almost two years since I bought the Apple Magic Keyboard with Numeric Keypad and I’m pretty happy about it.
In the past, I’ve used a crappy and cheap mechanical keyboard and at the end of the day, my fingers were really tired, and plus, I was making a lot of noise. That’s why I decided to switch to the Apple Keyboard but I’m not at all excluding trying a better quality mechanical keyboard sometime in the future.
Mouse
As a mouse, I’m using the Logitech MX Master, one of the best mouse I ever tried. It is really comfy and its secondary button will improve productivity. In fact, with the Logitech software, it is possible to customize the behavior of this button and even the gesture that you can do after clicking that button. With the click on the button, I open the Mission Control on macOS, with a down gesture (after clicking the button) I show the desktop and with a right or left one I move between the desktops.
Audio
If I have to choose only one gear to buy, I will definitely buy a microphone. A microphone really changes the way you are heard during calls. That’s because the internal microphone of the computer captures all the noise around (fan included) while an external one will capture mostly the sound in front of it.
After some research, I decided to buy the Blue Yeti Nano
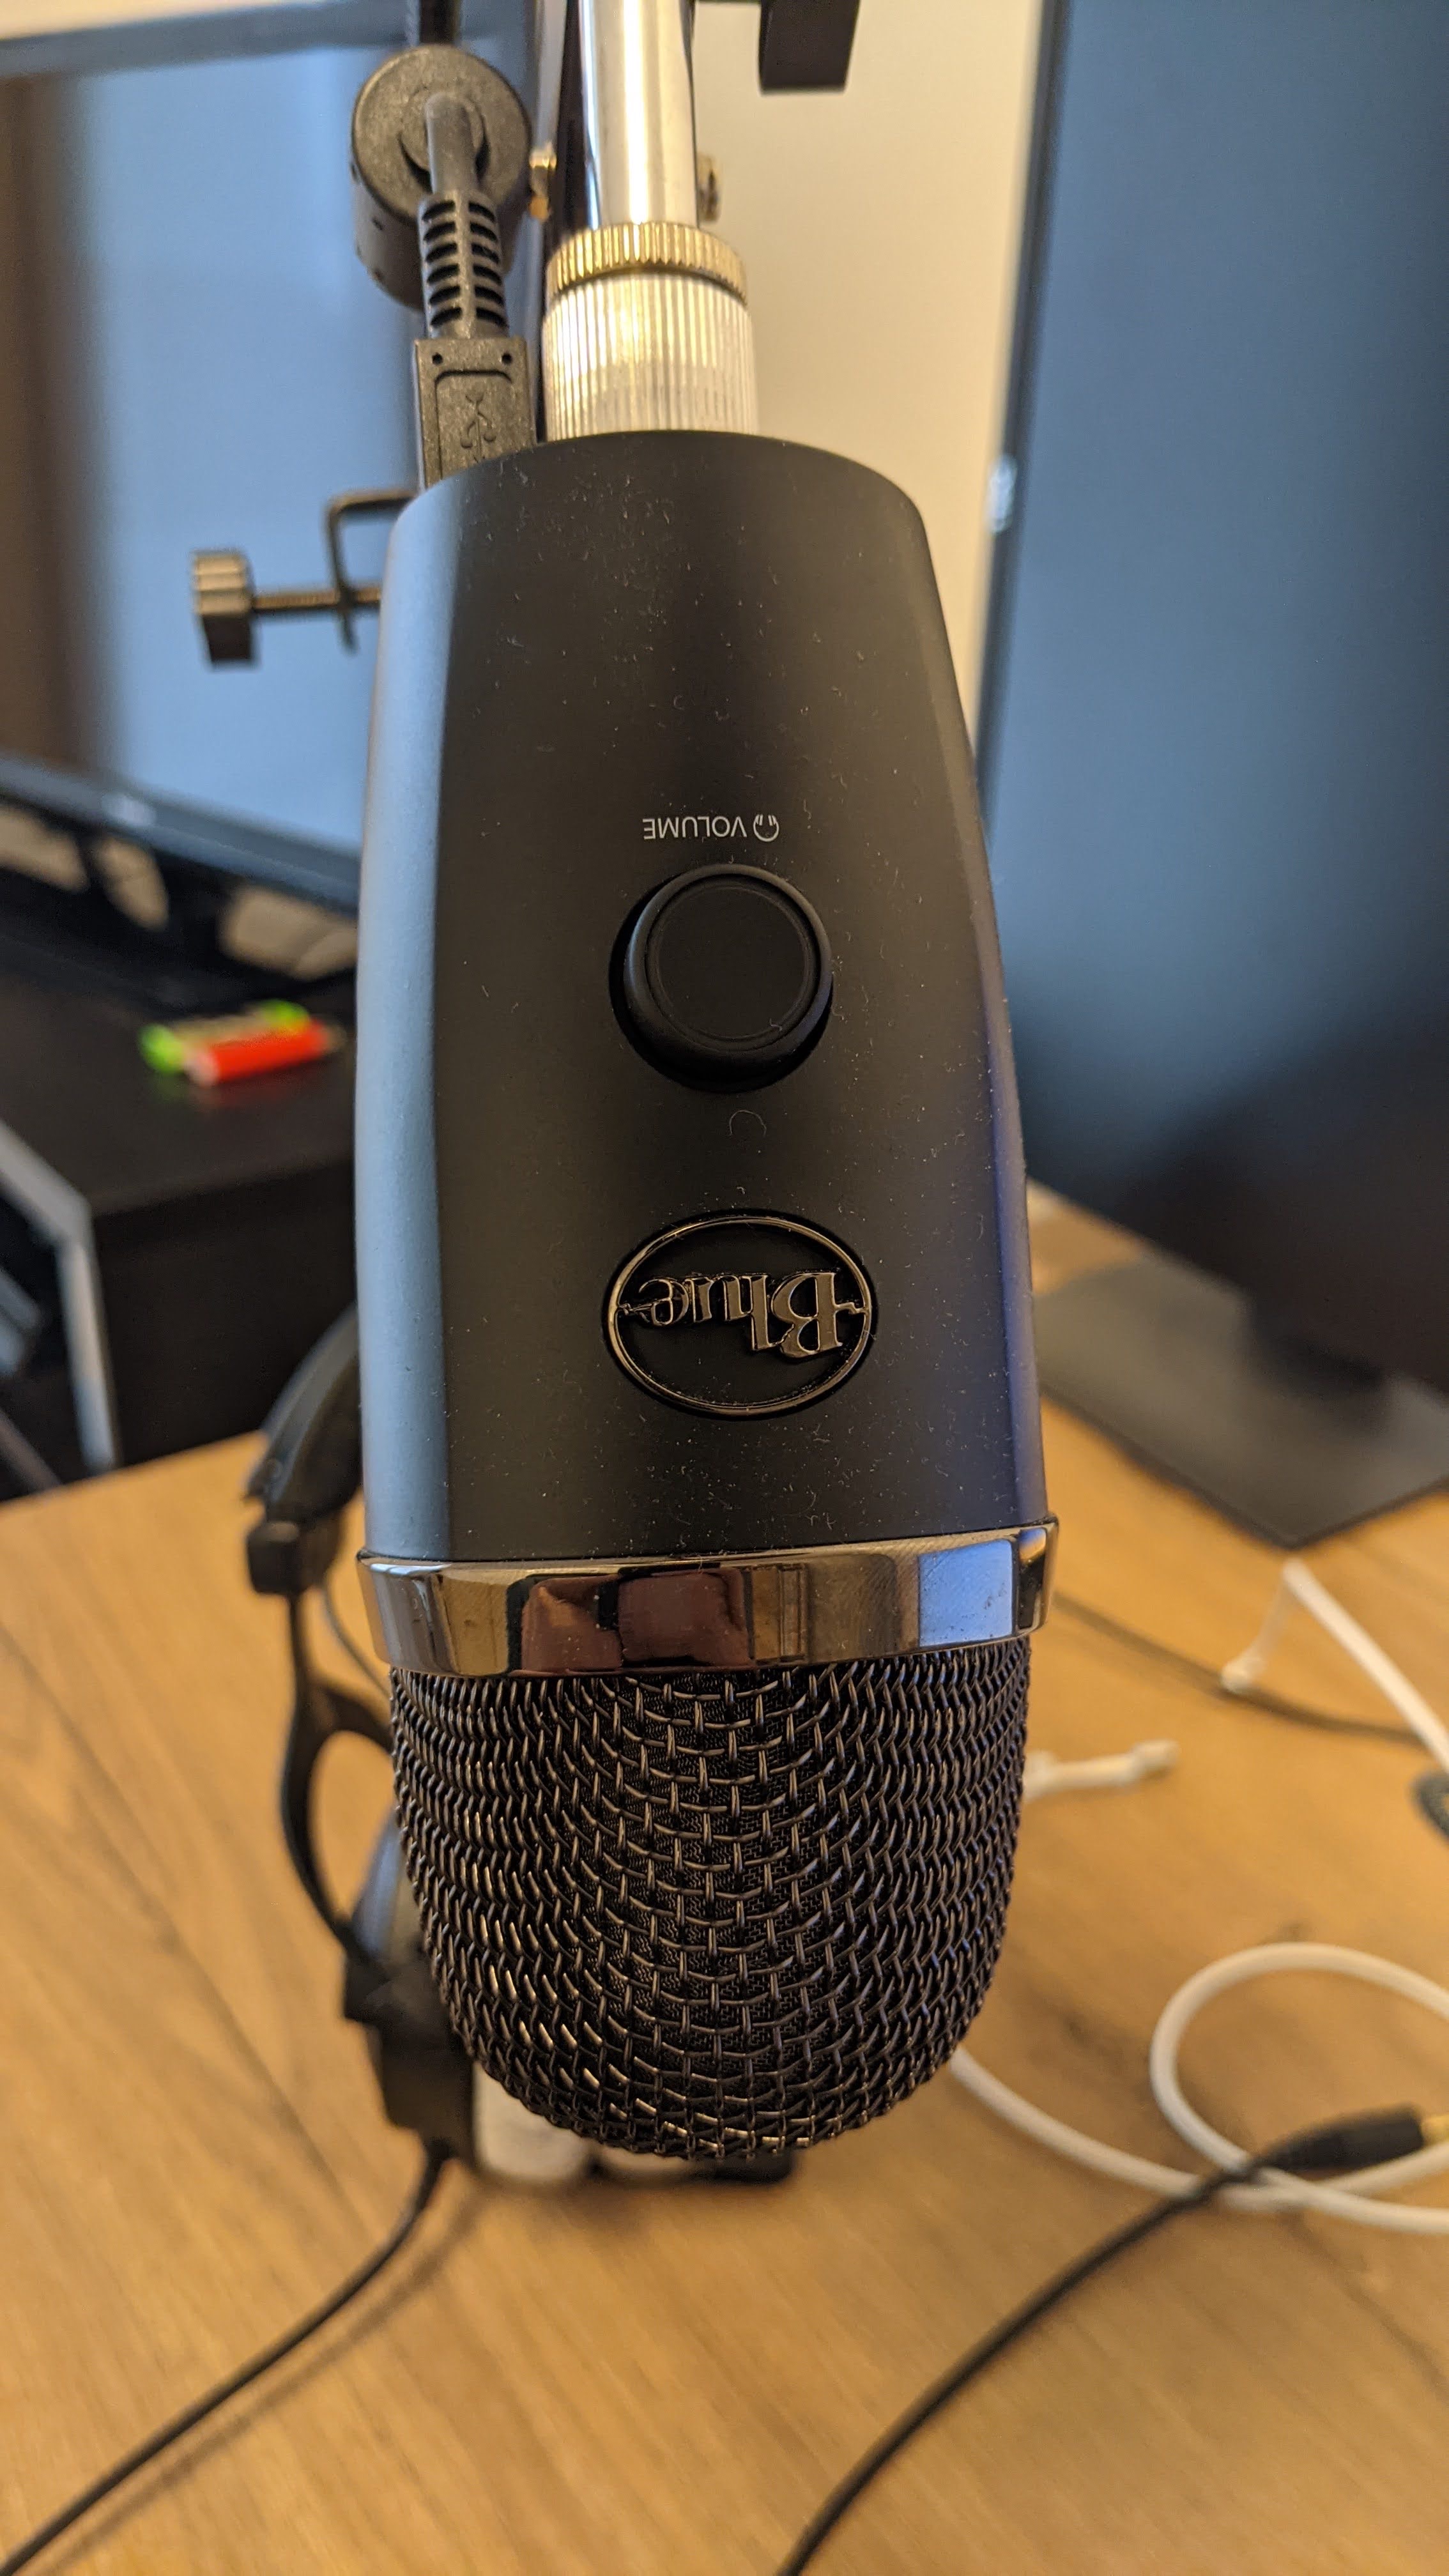
The Blue Yeti Nano is a USB condenser microphone and it is the youngest brother of the famous Blue Yeti. Compared to the Blue Yeti, the nano version does not have the Bidirectional Mode (useful only if you are doing interviews) and it uses 24-bit rather than 16.
The microphone includes a stand but, to avoid the sound that comes from vibrations and to save space on the desk, I suggest buying a mic arm.
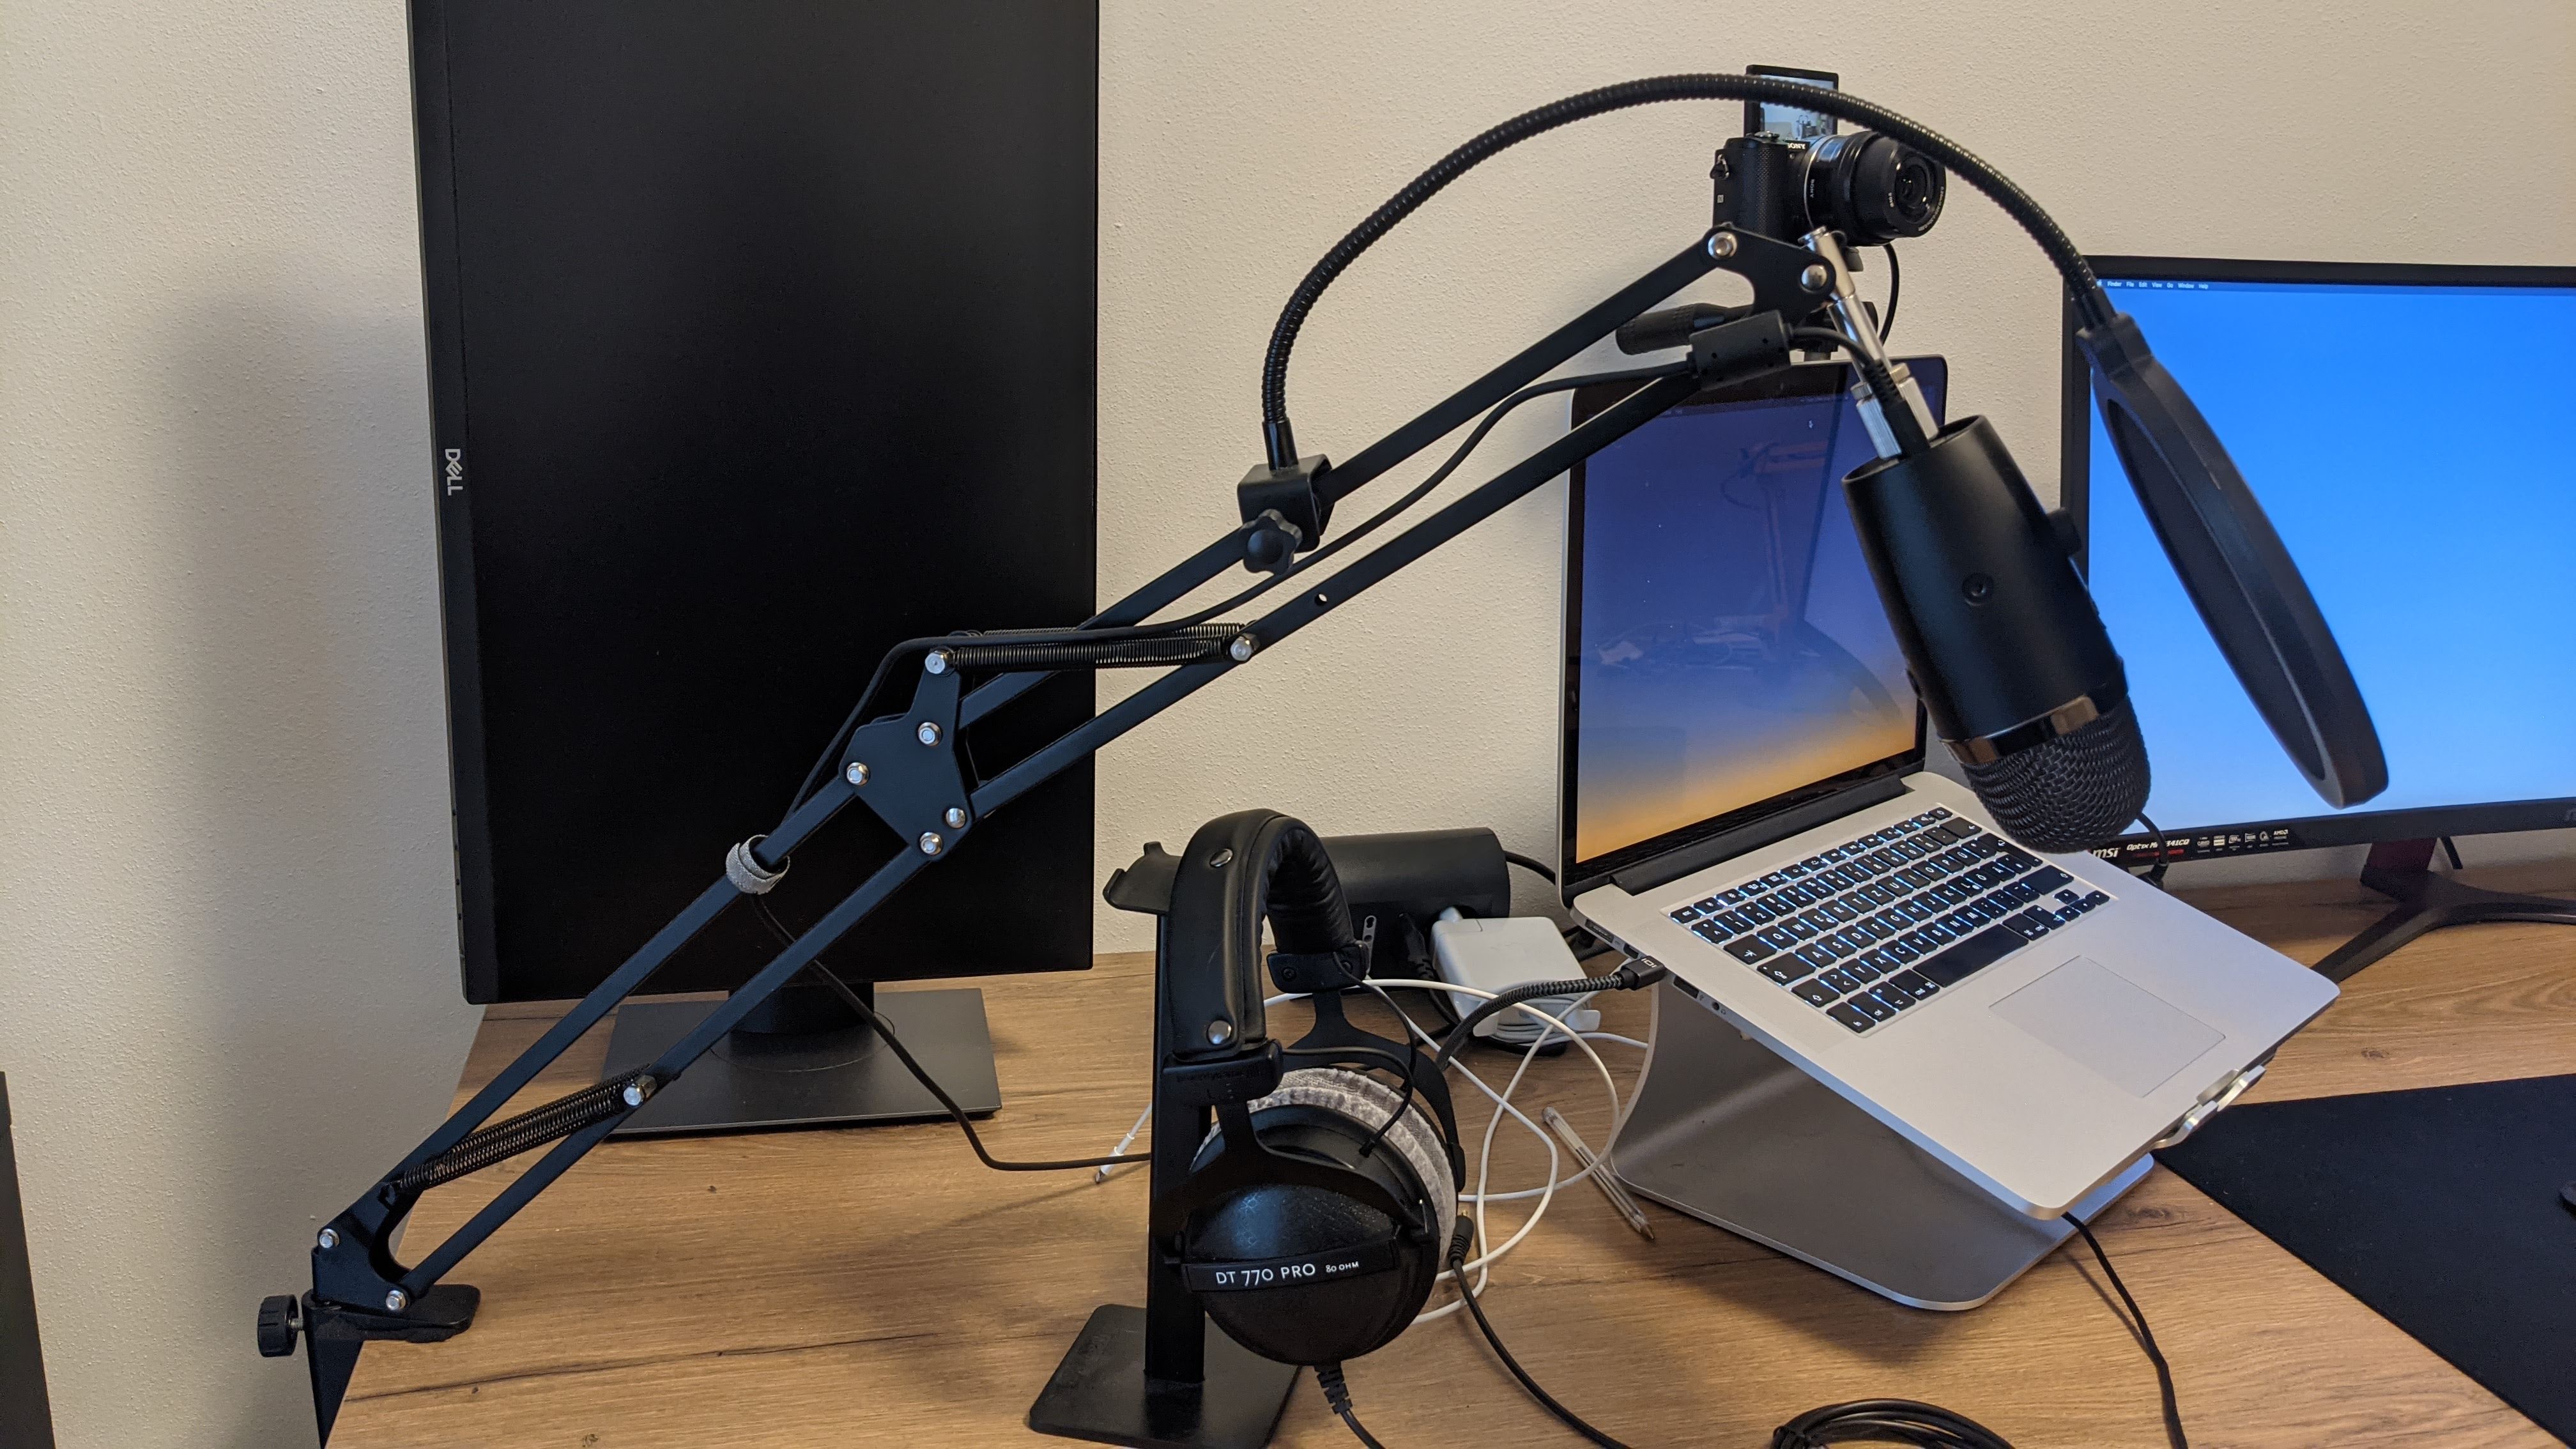
There are different types of arms, with different materials and different tilts. Since I didn’t need something fancy, I’ve bought a simple one suggested by Amazon
Besides an arm, I suggest you also buy a pop filter to reduce the popping sound (the sound of the letters “b” and “p”).
Again, as for the arm, I trusted Amazon and I bought a simple one.
To complete the setup, a pair of headphones is needed. I’m not an audiophile neither an audio guru, so I took the advice of a friend of mine and I bought the Beyerdynamic DT 770 Pro
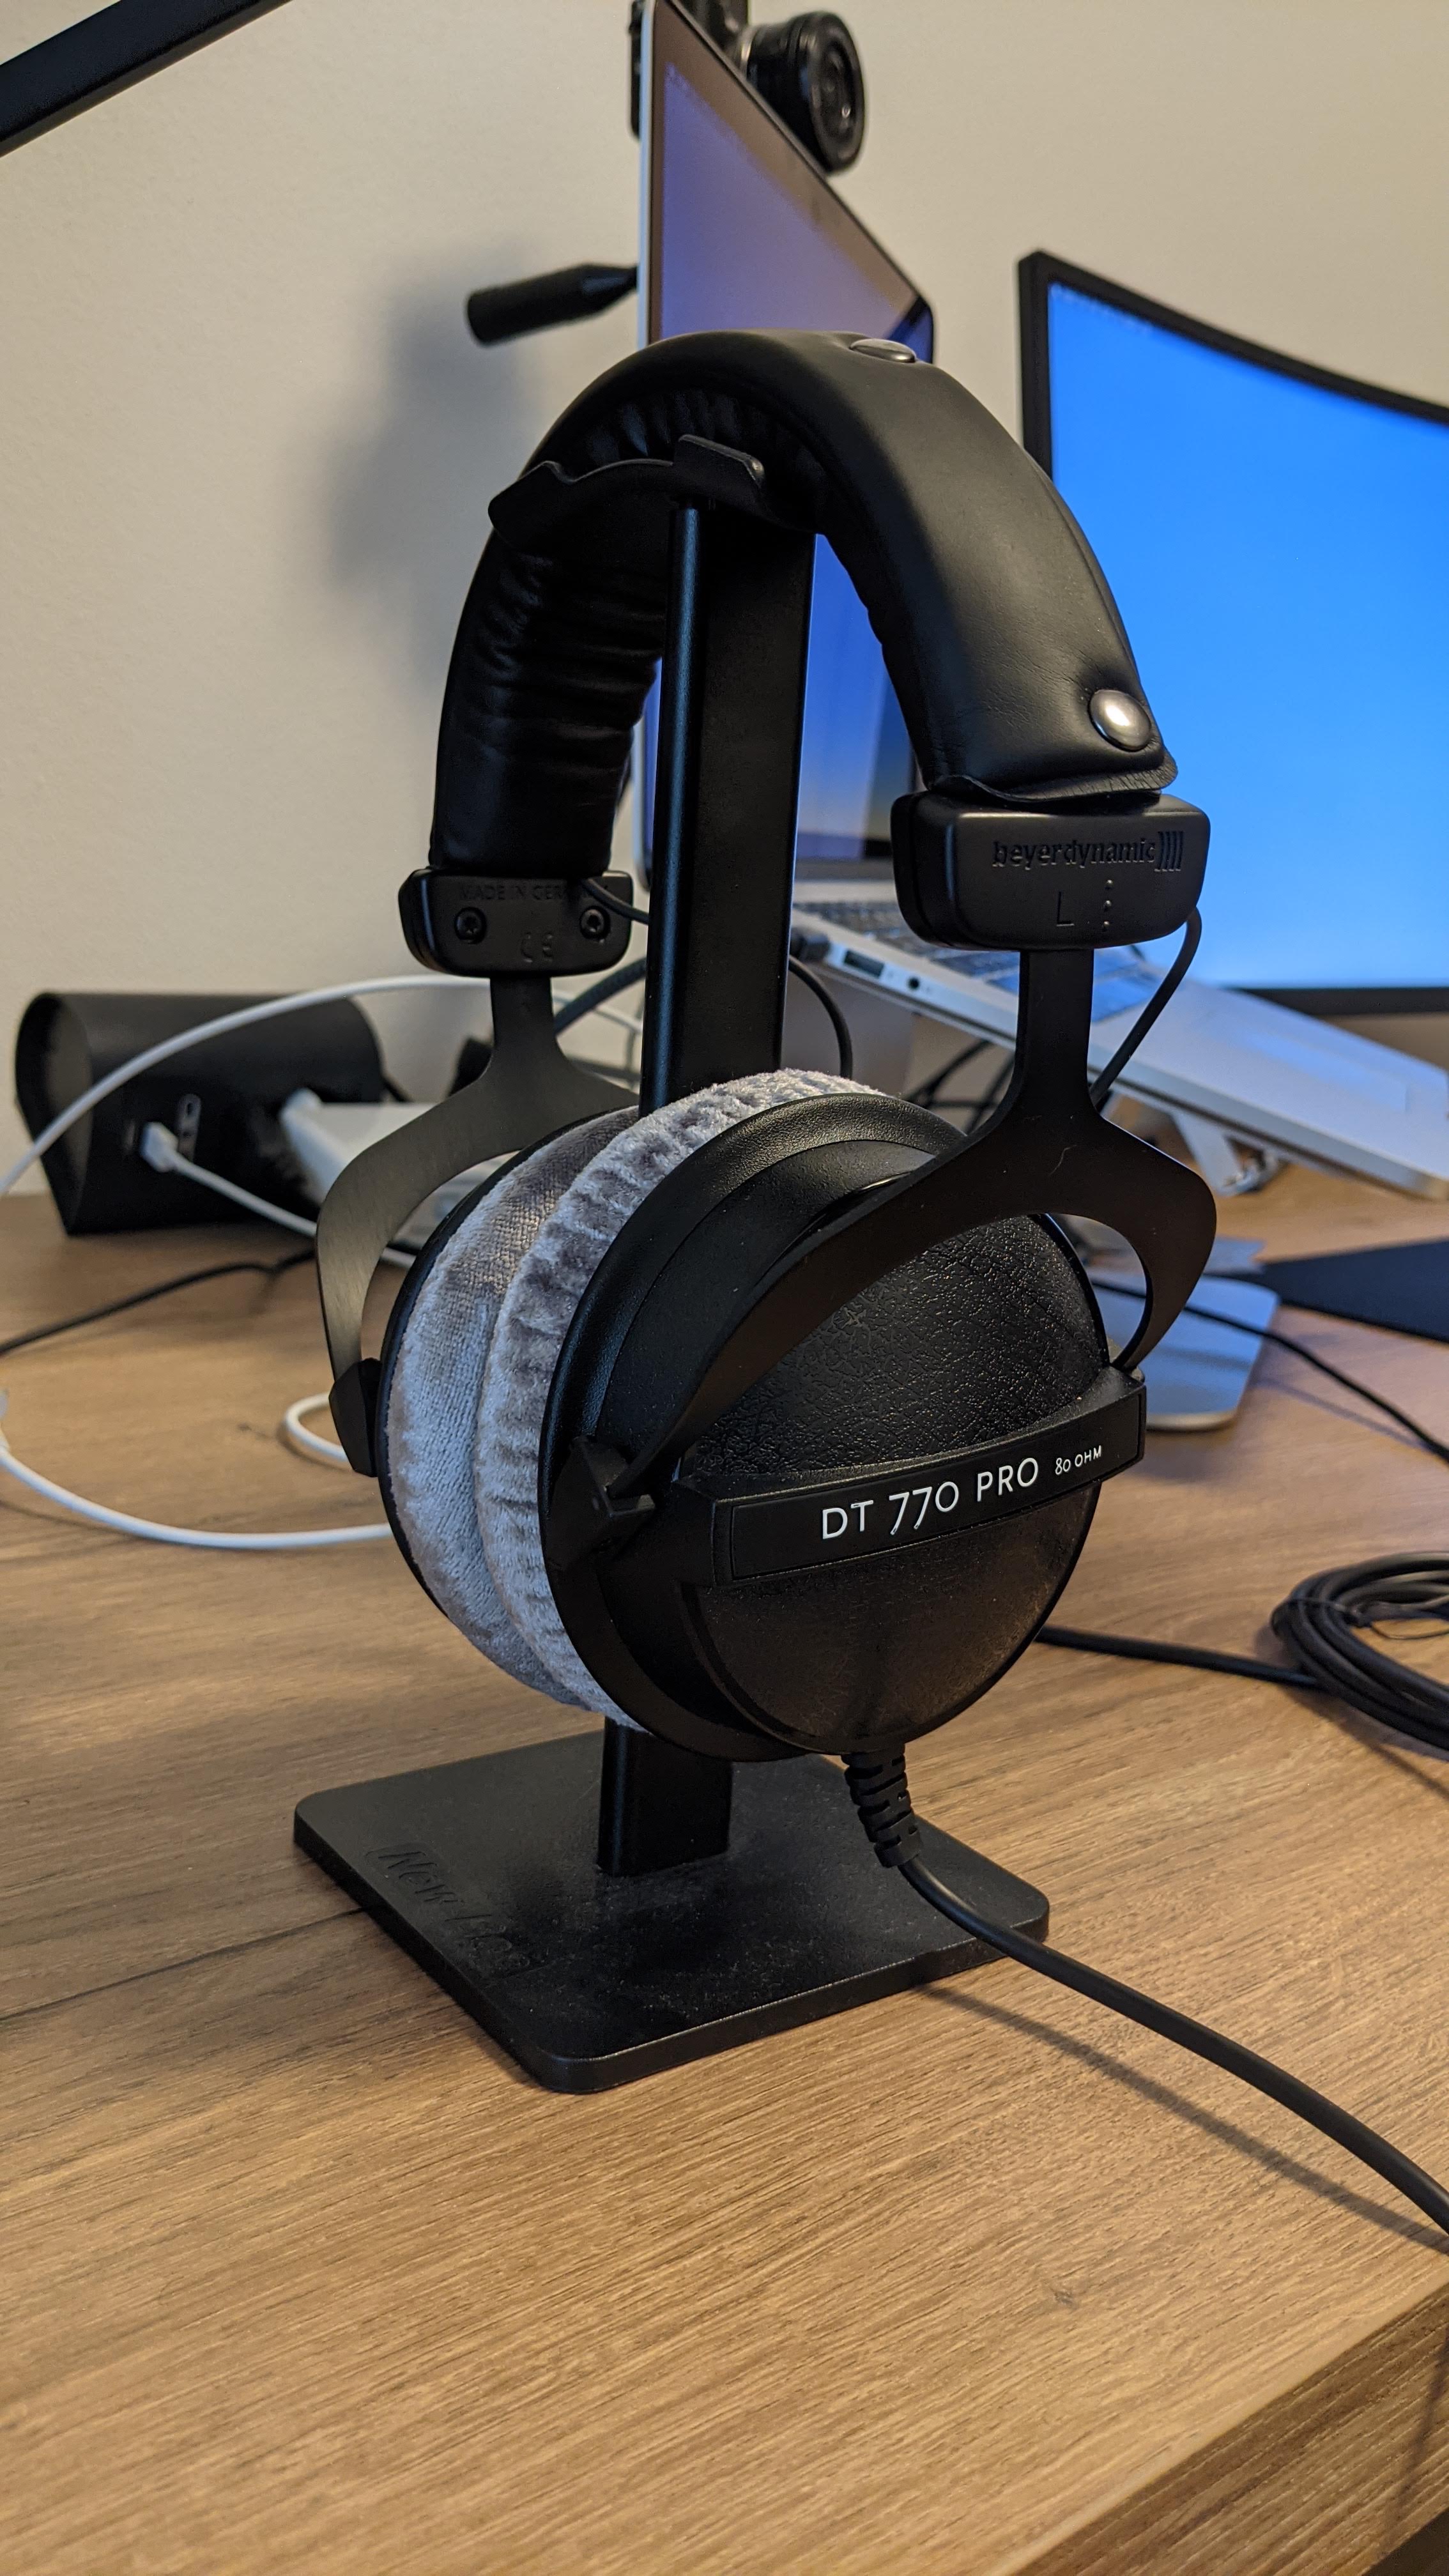
I’m very satisfied with the choice. These headphones are very comfortable and they sound amazing.
Video
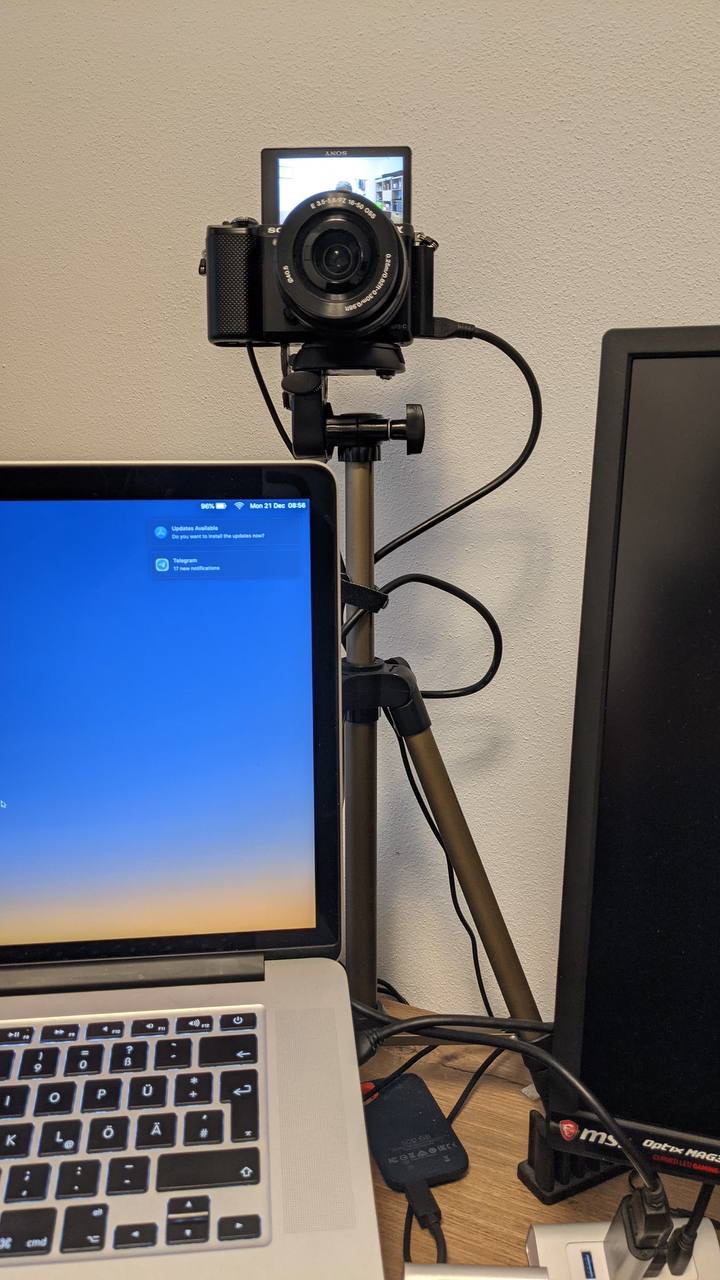
Webcams on laptops are crappy. And every time I’m surprised about that because even a cheap smartphone has a better front-facing camera. Anyway, the video can be improved with an external webcam or even by using a mirrorless/reflex. But the point here is not to purchase a camera just to use it as a webcam but to use the camera sitting in the drawer.
To use a camera as a webcam, it is necessary to use an HDMI capture card. There are different expensive versions but I’ve decided to buy a cheaper one because I only need to capture the camera stream. If you are planning to use it for recording other sources (like for example videogames, tv, etc) you should go with more expensive solutions like the one from Elgato.
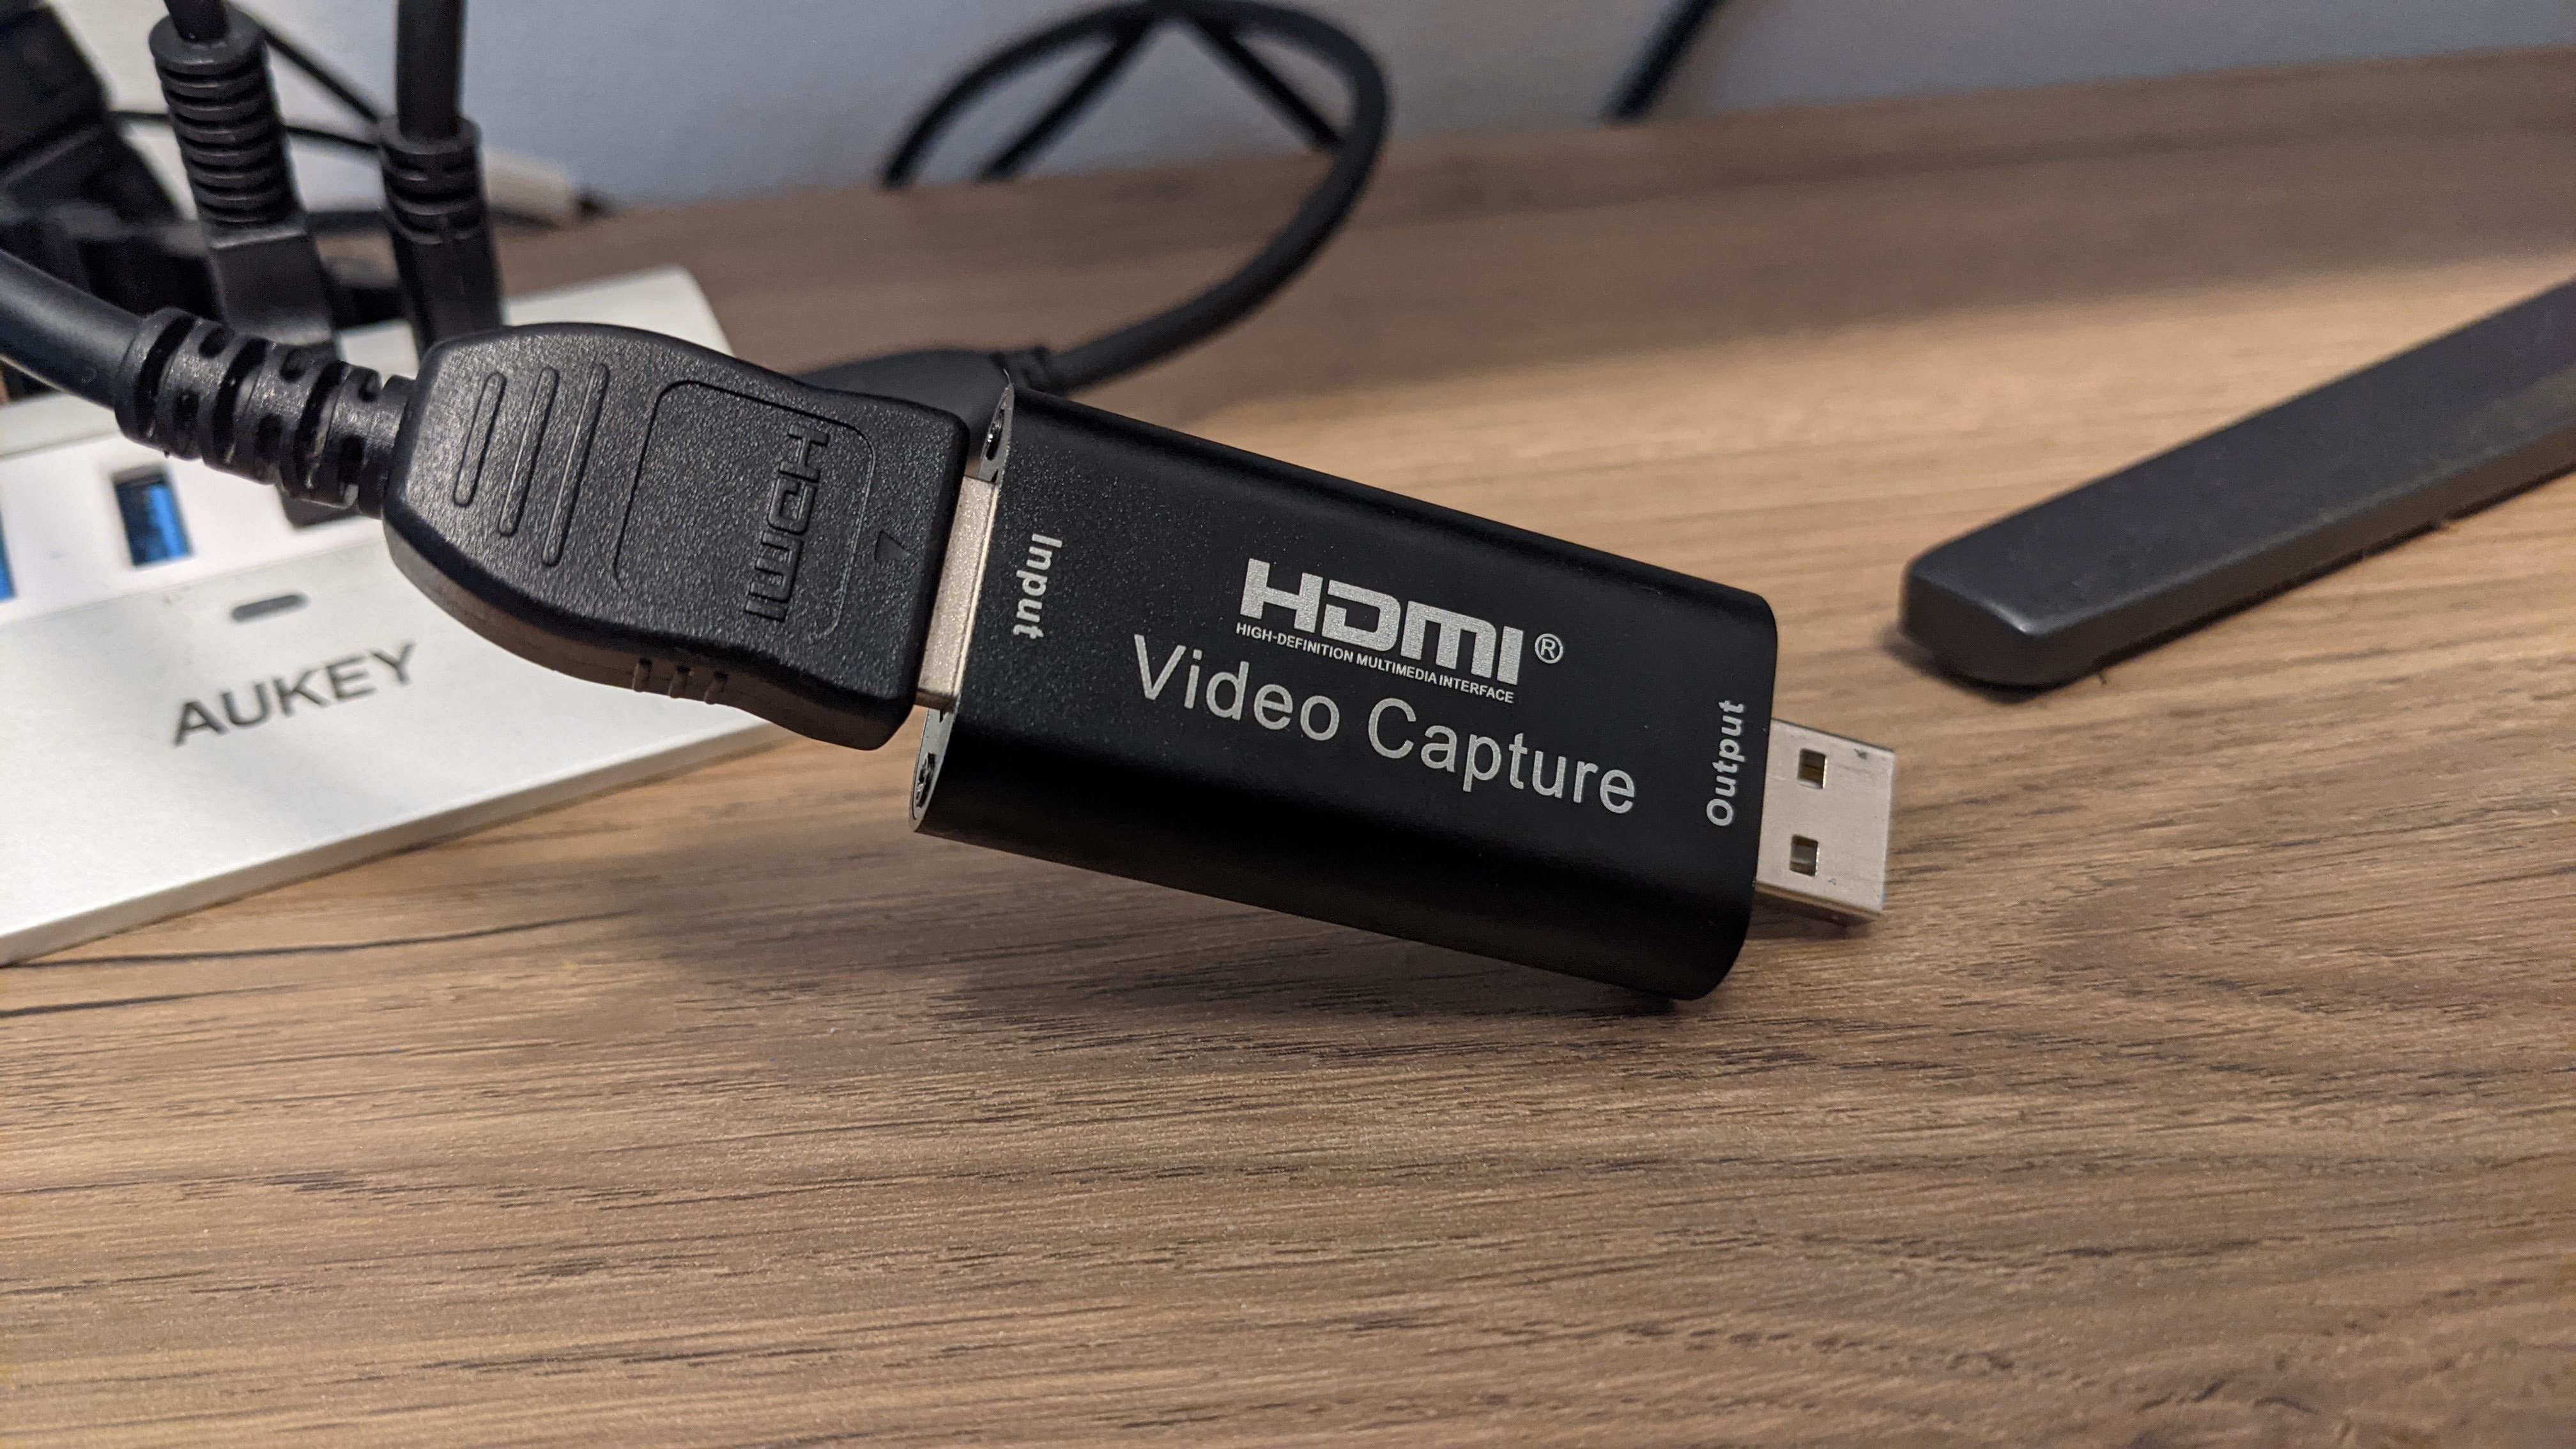
This cheap capture card does its job very well. After connecting the camera through HDMI and the card to the computer USB, the computer will recognize the card as a webcam. Then this “new” webcam can be selected in the settings of video-call software.
In order to make this “trick” work, a clean video output (without the over impression information about ISO, focus, etc) of the camera is needed. And my camera, a Sony Alpha 5000, does not have it. But with some tweaks I was able to achieve it. Fortunately, starting from the 5100 model, the clean output is supported by default.
And there is another trick to have “infinite” battery life. For Sony cameras, there are available fake batteries that can be plugged into the power supply.
But every big, fancy, and expensive piece of equipment is useless without proper lighting. To enhance the light of my setup, I am using a softbox. This is quite bulky and instead it is better to use a desk led panel (I’m using a softbox because it is a “leftover” from my previous life as tech reviewer).
And last but not least the monitor. I’ve recently switched to a wide monitor from a two-monitor setup and I couldn’t be happier. In this way, I can put some content just in the middle of the screen while this is not possible with a two-monitor setup. I’ve chosen a 34” MSI Optix MAG341CQ (it’s a gaming monitor, but it’s perfect also for working).
Conclusions:
And that’s my setup! If you have any kind of suggestions about gear, improvements, whatever, feel free to reach me out on Twitter @marcoGomier.
I know that can be expensive, but if you have the possibility, with not so much effort, you can really improve your audio and video quality. If you are doing talks, webinars, video tutorial, etc the video improvements really make a difference. Otherwise, if you are doing only video calls, I would invest in a decent microphone.
If you are interested in different suggestions and setup, I suggest you look over Emma Bostian’s article and Sebastiano Poggi’s one, which inspired me to improve my setup and to write about it.
Note: Some links contained in this article are affiliate links. It cost nothing to you, but they can support my work.