Flutter or React Native, a cross-platform dilemma - How to build User Interfaces - (Part 2)
Welcome to the second part of this comparison about React Native and Flutter. In the first episode, we have introduced the two frameworks with some history and with a comparison between the languages that these two frameworks use.
If you have lost the first episode, I suggest you read it before moving on.
Flutter or React Native, a cross-platform dilemma - Introduction - (Part 1)
In this article, I will explain how to build user interfaces in React Native and Flutter. Disclaimer: This article will not cover all the deep aspects of the two frameworks, but I want to give you an overview to better understand the differences. For much deeper details, I suggest you look at the official documentation (React Native - Flutter)
React Native
Let’s jump immediately into some code (a simple Hello World).
// React Native
import React from "react";
import { StyleSheet, Text, View } from "react-native";

export default class App extends React.Component {
  render() {
    return (
      <View style={styles.container}>
        <Text>Hello world!</Text>
      </View>
    );
  }
}
const styles = StyleSheet.create({
  container: {
    flex: 1,
    backgroundColor: "#fff",
    alignItems: "center",
    justifyContent: "center"
  }
});
The entry point of this Hello World is the render method. Inside this method, we declare all the items (these items have a precise name, but I’ll reveal it in a moment) that has to be rendered on the screen. In this case, there is a View with inside a Text. These items are called Components and a Component is the basic building block that composes the UI. Of course, as showed in the example above, the Components can be nested together to build more complex components and UIs.
The Components are declared and stylized (the styling is done by using CSS) by using a Domain Specific Language called JSX. This DSL is basically a (very simple) mixture of Javascript and XML. For more information about JSX, please refer to the documentation.
<Text
    ellipsizeMode={"tail"}
    numberOfLines={this.props.numberOfLines || 100}
    style={{fontSize: 14}}
>
  "Hello World"
</Text>
The React team has already developed lots of Components that we can use (there is a list of the available Components in the documentation) but we can also download and use Components developed by third-party developers. Every Component can be used in a standalone way or it can be combined with other ones to create a more complex one.
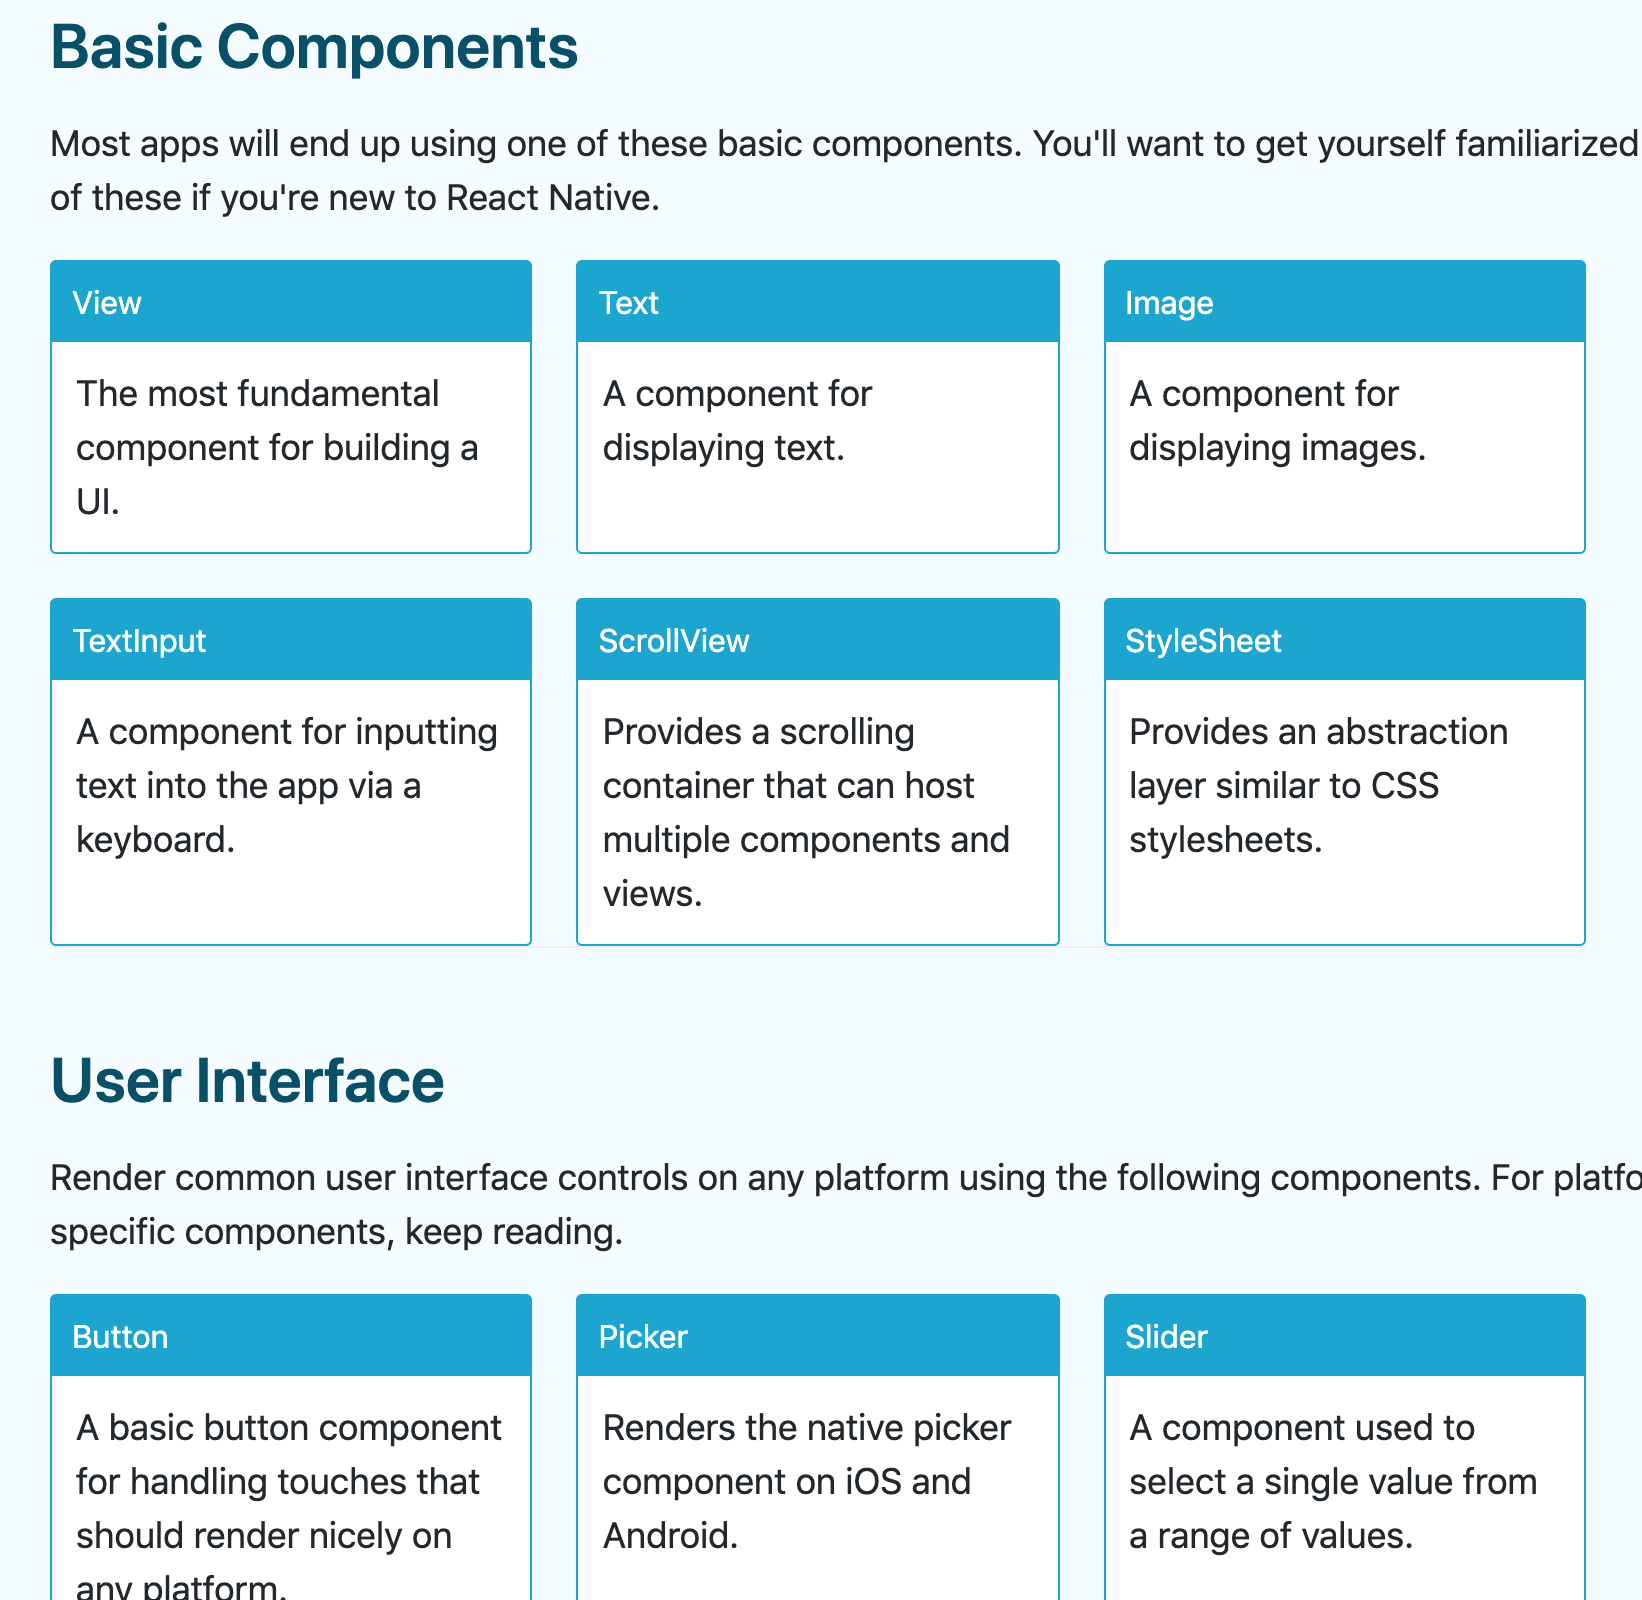
Components catalogue.
Flutter
And now, let’s move to Flutter. As before, we start with a simple Hello World.
// Flutter
import 'package:flutter/material.dart';

void main() => runApp(MyApp());

class MyApp extends StatelessWidget {
  @override
  Widget build(BuildContext context) {
    return MaterialApp(
      home: Scaffold(
        appBar: AppBar(
          title: Text("Flutter Demo Home Page"),
        ),
        body: Center(
          child: Text("Hello World"),
        ),
      ),
    );
  }
}
In Flutter, the equivalent of Components are Widgets and in the example above, for example instead of View and Text we have Center and Text. Flutter takes inspiration from React and the main idea is that the UI is built out of widgets. In fact, in Flutter everything is a widget: for example, the structural elements of the application ( buttons, menu, dialogs, etc ), the stylistic elements ( opacity, transformations, etc ) and also the aspect of the layout ( margins, paddings, alignments, etc ) are widgets. And even the application itself is a widget. In fact, the entire Hello World application that is defined before is a widget (MyApp) and more precisely a Stateless widget. In Flutter, you can use a Stateless or a Statefulwidget depending if you have to manage the state of the application.
The entry point of the widget is the build method, that we have override every time we define a new widget. As you can see in the example above, we have declared a bunch of widgets: the MaterialApp widget where we can declare some theme customization, the Scaffold widget that provides the main structure of an application and finally the “real content” of our application, i.e. the Center widget with a Text widget as children.
As the components in React Native, the widgets can be nested together to create to build more complex widgets and UIs. The Flutter team has already developed lots of widgets that we can use (there is a list of the available widgets in the documentation) but we can also download and use widgets developed by third-party developers.
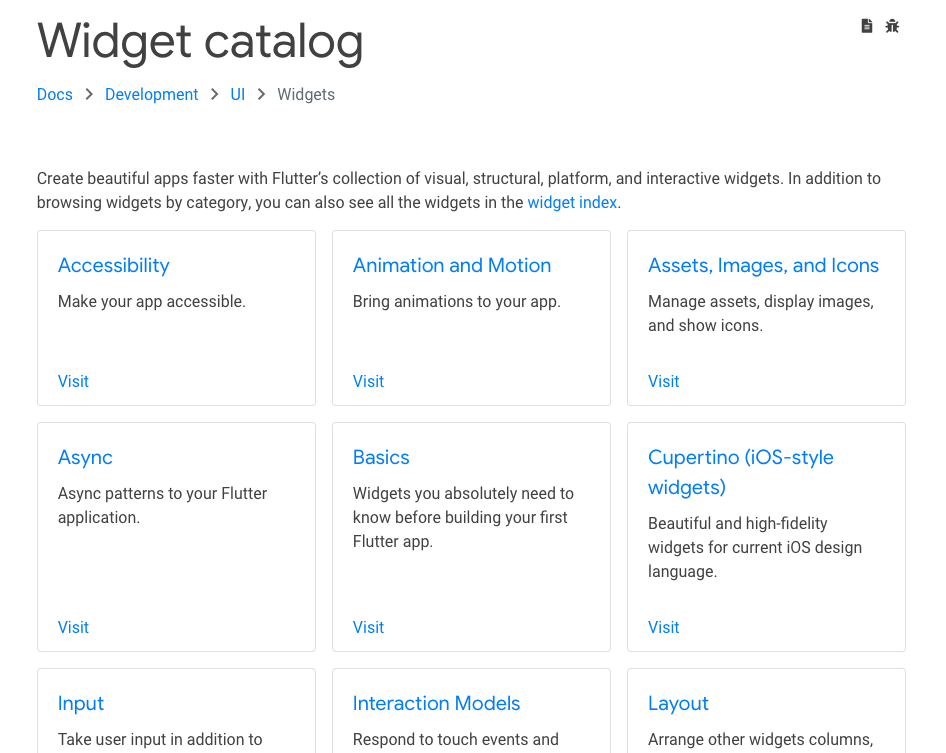
Widgets catalogue.
Recap
So, in Flutter we remain in the Dart context to define User Interfaces, while in React Native we have to learn a DSL (but is very simple). In both frameworks, we can modularize the UI by mixing simple “blocks”. And this modularization is highly suggested to avoid a mess codebase and a lot of nested widgets/components in your code.
Alongside with the modularization of the UI, you should also add state management in your application. In this way, you can separate the presentation logic from the business logic, you can sync data between different components/widget, you can have a more testable code, etc. This topic will not be covered in this series of articles, but I want to give you some quick tips/suggestions. Both in Rect Native and Flutter, there is a “naive” way to manage the state provided by the framework. In a few words, you can define a default state and then update it by calling a setState method. When this method is called the UI is redrawn (with of course some optimizations) to show the update state. For more information, I suggest you read the documentation, both for React Native and Flutter.
There are also more powerful ways to manage the state, for example for React Native: Redux, Mobx, Apollo, etc. while for Flutter: again Redux, BLoC, Scoped Model, etc. A list of different state management possibilities for Flutter can be found on fluttersamples.com website.
Before ending this journey into the User Interfaces, I need to tell you that this style of building UIs has a name: Declarative. In the mobile world we are all used to define UIs in an imperative style, i.e. if we want to update an element of the UI, for example, a TextView, we ask the view owner an instance of that element and then we update it based on the new state. With the declarative style, we define the current UI state (e.g. a loading state, an error state, etc.) and the framework manages the state changes. This pattern has lots of benefits (but this is not the right place to talk about it - maybe in a future blog post) and is borrowed from the web world, from frameworks like React and Vue.js. Next, it started to appear in the mobile world with React Native and then Flutter and finally, it captured the attention of the “native world” with Jetpack Compose and Swift UI. And I think that Declarative patterns are the future.
And for today is enough. After this journey into User Interfaces, in the next episode, we’ll dive under the hood of these frameworks.