How to publish and distribute your Android library
Update - February 2021
As you may have heard, JCenter is shutting down in May 2021.
Into the Sunset on May 1st: Bintray, JCenter, GoCenter, and ChartCenter
https://jfrog.com/blog/into-the-sunset-bintray-jcenter-gocenter-and-chartcenter/
So, this tutorial is no longer recommended because it explains how to publish an Android library to JCenter.
I suggested you follow this guide written by Márton Braun.
Publishing Android libraries to MavenCentral in 2021 https://getstream.io/blog/publishing-libraries-to-mavencentral-2021/
If you have already published a library on JCenter and you want to migrate the old artifacts to MavenCentral, you can follow the guide that I’ve written:
Migrating old artifacts from JCenter to MavenCentral https://www.marcogomiero.com/posts/2021/move-libray-jcenter-to-maven/
Original Article:
You have just built an awesome Android library but you don’t know how to publish it? You are in the right place; in this article, I will explain to you the process that I use to publish my two libraries.
First of all, let’s assume that you have already developed your Android library, so you have a library module in Android Studio.
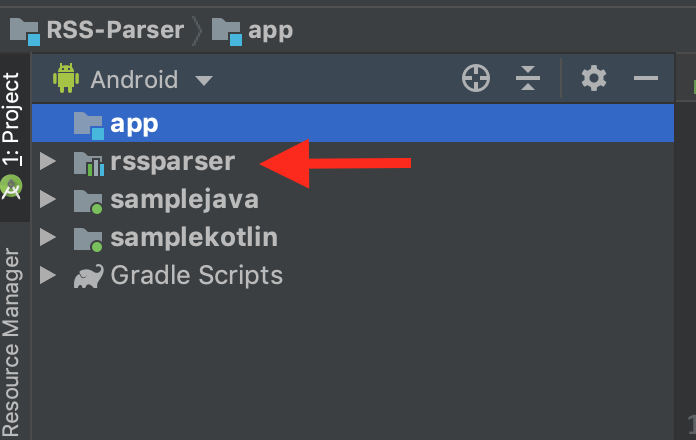
An example of a library module
The library will be published to *jCenter, *a Maven repository hosted by bintray.com. The process is simple: the library is built locally in Android Studio, the artifacts will be upload to bintray and then linked to jCenter.

In this way, the developers that want to use your library has only to declare it in the *build.gradle *file of their projects. For example:
implementation "com.prof.rssparser:rssparser:2.0.4"
The first thing to do is to create a Bintray account and for open source projects is FREE.

Create a Bintray account
After the creation of the account, you have to choose a repository. Let’s go with Maven (I know, you are thinking “Why? I want to publish it to jCenter”. Well, as said above jCenter is a Maven repository so we have to choose Maven).
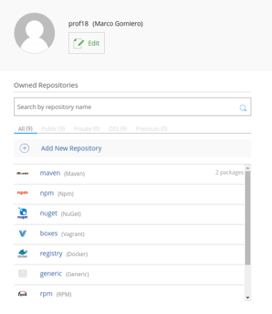
Choose Maven as repository
Now you can create a new package inside your Maven repository.
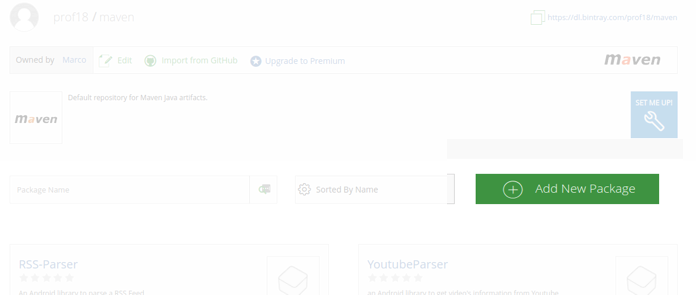
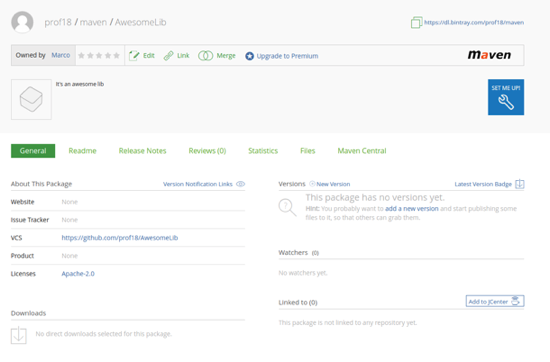
Add a new package to the Maven repository
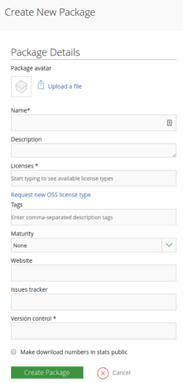
Add basic information of the library
After adding all the basic information of your library, like name, description, license, tags, etc., the repository of the library is ready.
Now, back to the code. I’ll take as reference, a library that I’ve developed, so you can dive into the real code if you want.
First of all, you have to add some dependencies into the build.gradle file of your project.
classpath 'com.github.dcendents:android-maven-gradle-plugin:2.0'
classpath 'com.jfrog.bintray.gradle:gradle-bintray-plugin:1.8.4'
EDIT: The android-maven-gradle-plugin has been deprecated and you have to change the plugin to generate the artifact if you are using Gradle 5 and above. The new plugin is the one developed by Sky-UK and you need to apply it on the publish.gradle file (more details about it later on).
So we can get rid of the deprecated dependency:
classpath 'com.jfrog.bintray.gradle:gradle-bintray-plugin:1.8.4'
At this point, we are ready to create the publishing script. Inside the library project, create a publish.gradle file and apply it on the *build.gradle file *of your library.
apply from: 'publish.gradle'
apply plugin: 'maven-publish'
apply plugin: 'com.jfrog.bintray'

group 'com.your.awesome.lib'
version '1.0.0'

publishing {
    publications {
        Production(MavenPublication) {
            artifact("$buildDir/outputs/aar/awesomelibrary-release.aar")  {
                builtBy tasks.getByName("assembleRelease")
            }
            groupId
            artifactId 'awesomelibrary'
            version this.version

            pom.withXml {
                def dependenciesNode = asNode().appendNode('dependencies')

                // Iterate over the implementation dependencies (we don't want the test ones), adding a <dependency> node for each
                configurations.implementation.allDependencies.each {
                    // Ensure dependencies such as fileTree are not included in the pom.
                    if (it.name != 'unspecified') {
                        def dependencyNode = dependenciesNode.appendNode('dependency')
                        dependencyNode.appendNode('groupId', it.group)
                        dependencyNode.appendNode('artifactId', it.name)
                        dependencyNode.appendNode('version', it.version)
                    }
                }
            }
        }
    }
}

def properties = new Properties()
properties.load(new FileInputStream("local.properties"))

bintray {
    user = properties.getProperty("bintray.user")
    key = properties.getProperty("bintray.apikey")
    publications = ['Production']
    configurations = ['archives']
    override = true
    pkg {
        repo = 'maven'
        name = 'AwesomeLib'
        description = "It's an awesome lib"
        publicDownloadNumbers = true
        licenses = ['Apache-2.0']
        vcsUrl = 'https://github.com/prof18/AwesomeLib'
        version {
            name = this.version
            desc = "Version ${this.version}"
            released = new Date()
            vcsTag = this.version
        }
    }
}
EDIT: Starting from Gradle 5 and above, the previous script is not valid anymore and you need to change it a little bit.
apply plugin: 'com.jfrog.bintray'

group 'com.your.awesome.lib'
version '1.0.0'

project.ext {
    mavGitUrl = 'https://github.com/prof18/AwesomeLib.git'
    mavProjectName = 'AwesomeLib'
    mavLibraryLicenses = ["Apache-2.0":'http://www.apache.org/licenses/LICENSE-2.0.txt']
    mavLibraryDescription = "An Awesome Android library"
    mavPublishToMavenLocal = true
    mavSiteUrl = 'https://github.com/prof18/AwesomeLib'
}

def properties = new Properties()
properties.load(new FileInputStream("local.properties"))

bintray {
    user = properties.getProperty("bintray.user")
    key = properties.getProperty("bintray.apikey")
    publications = ['Production']
    configurations = ['archives']
    override = true
    pkg {
        repo = 'maven'
        name = 'AwesomeLib'
        description = "It's an awesome lib"
        publicDownloadNumbers = true
        licenses = ['Apache-2.0']
        vcsUrl = 'https://github.com/prof18/AwesomeLib'
        version {
            name = this.version
            desc = "Version ${this.version}"
            released = new Date()
            vcsTag = this.version
        }
    }
}

apply from: 'https://raw.githubusercontent.com/sky-uk/gradle-maven-plugin/master/gradle-mavenizer.gradle'
To better understand the changes, you can refer to the diff.
Before explaining the whole script, a clarification of the library signature is mandatory. As mentioned earlier, the signature of your library has the following shape:
com.prof.rssparser:rssparser:2.0.4
and it is composed of three parts:
the Group ID (com.prof.rssparser);
the Artifact ID (rssparser);
the Version (2.0.4).
GROUP_ID:ARTIFACT_ID:VERSION
So, for the example library that we have created above, the Group ID is: “com.your.awesome.lib”, the Artifact ID is: “awesomelib” and the version is: “1.0.0”. These fields are arbitrary and you have to choose a name; keep in mind that with a new update, only the version will change in the signature.
com.your.awesome.lib:awesomelib:1.0.0
Returning to the script, the lines [7–33] - (EDIT: [6–13]) - are responsible to build the library, generate the artifacts and link all the external dependencies that you are using.
The lines [38–58] - (EDIT: [15–38]) - instead are responsible for the uploading of the library. Here you have to specify your bintray username, bintray API key (you can retrieve and revoke it under Edit Your Profile -> API Key), the version, the artifact and the group of the library and other useful information. You can found all the different information that you can provide, in the documentation of the gradle bintray plugin.
Remember to keep private the username and the private key. There are many ways, for example, I saved them in the local.properties:
bintray.user=<your-name>
bintray.apikey=<your-key>
and loaded them in the *publish.gradle *script with a few simple lines of code.
def properties = new Properties()
properties.load(new FileInputStream("local.properties"))

user = properties.getProperty("bintray.user")
key = properties.getProperty("bintray.apikey")
Finally, it’s time to open the Terminal and launch the build and upload task (I recommend to use the *– info *flag to have a better understanding of what it is going on).
./gradlew clean build bintrayUpload --info
EDIT: After the deprecation of the android-maven-gradle-plugin, the command to launch the build and upload task is changed
./gradlew clean publish bintrayUpload --info
If everything went well, the artifacts have been uploaded to bintray but not yet published.
New version uploaded but not yet published
I have intentionally disabled the automatic publishing because it can save your life if there are some errors. But if you want, there is a flag that you can put in the publish.gradle file that automatically publishes the library as soon it has been uploaded.
To publish the library, you have to click the *Publish *button on a banner that appears in the repository page of the library.

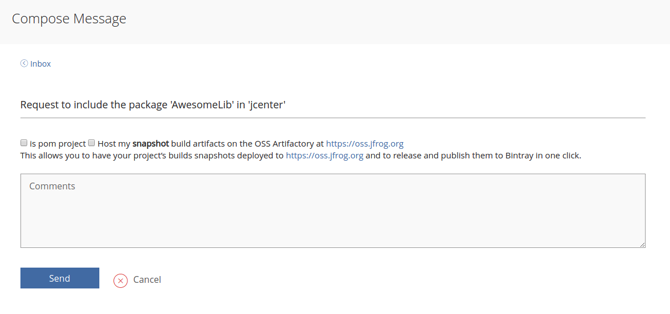
And now the last step. You have to link the library to jCenter. This process must be done only the first time. At the right bottom of the library repository page, there is a “Add to jCenter”* *button.

Link the library to jCenter
Send the request and wait for the approval.
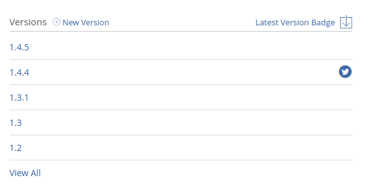
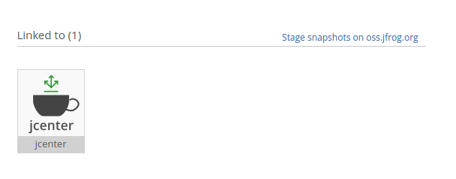
Within max two hours, your library is published and linked to jCenter, as you can see in the repository page.
Finally, you can tell the world about your awesome library and provide the signature to implement it.
dependencies {
    implementation ‘com.your.awesome.lib:awesomelib:1.0.0’
}
And that’s all folks! I agree with you that the process is not simple but I hope to have cleared all your doubts.